Find solutions
Customer login
Web versionBusiness login
Log in to manage your orders, payout reports, store statistics, and general settings.
Digital Receipts
Keep your shoppers engaged with Digital Receipts.
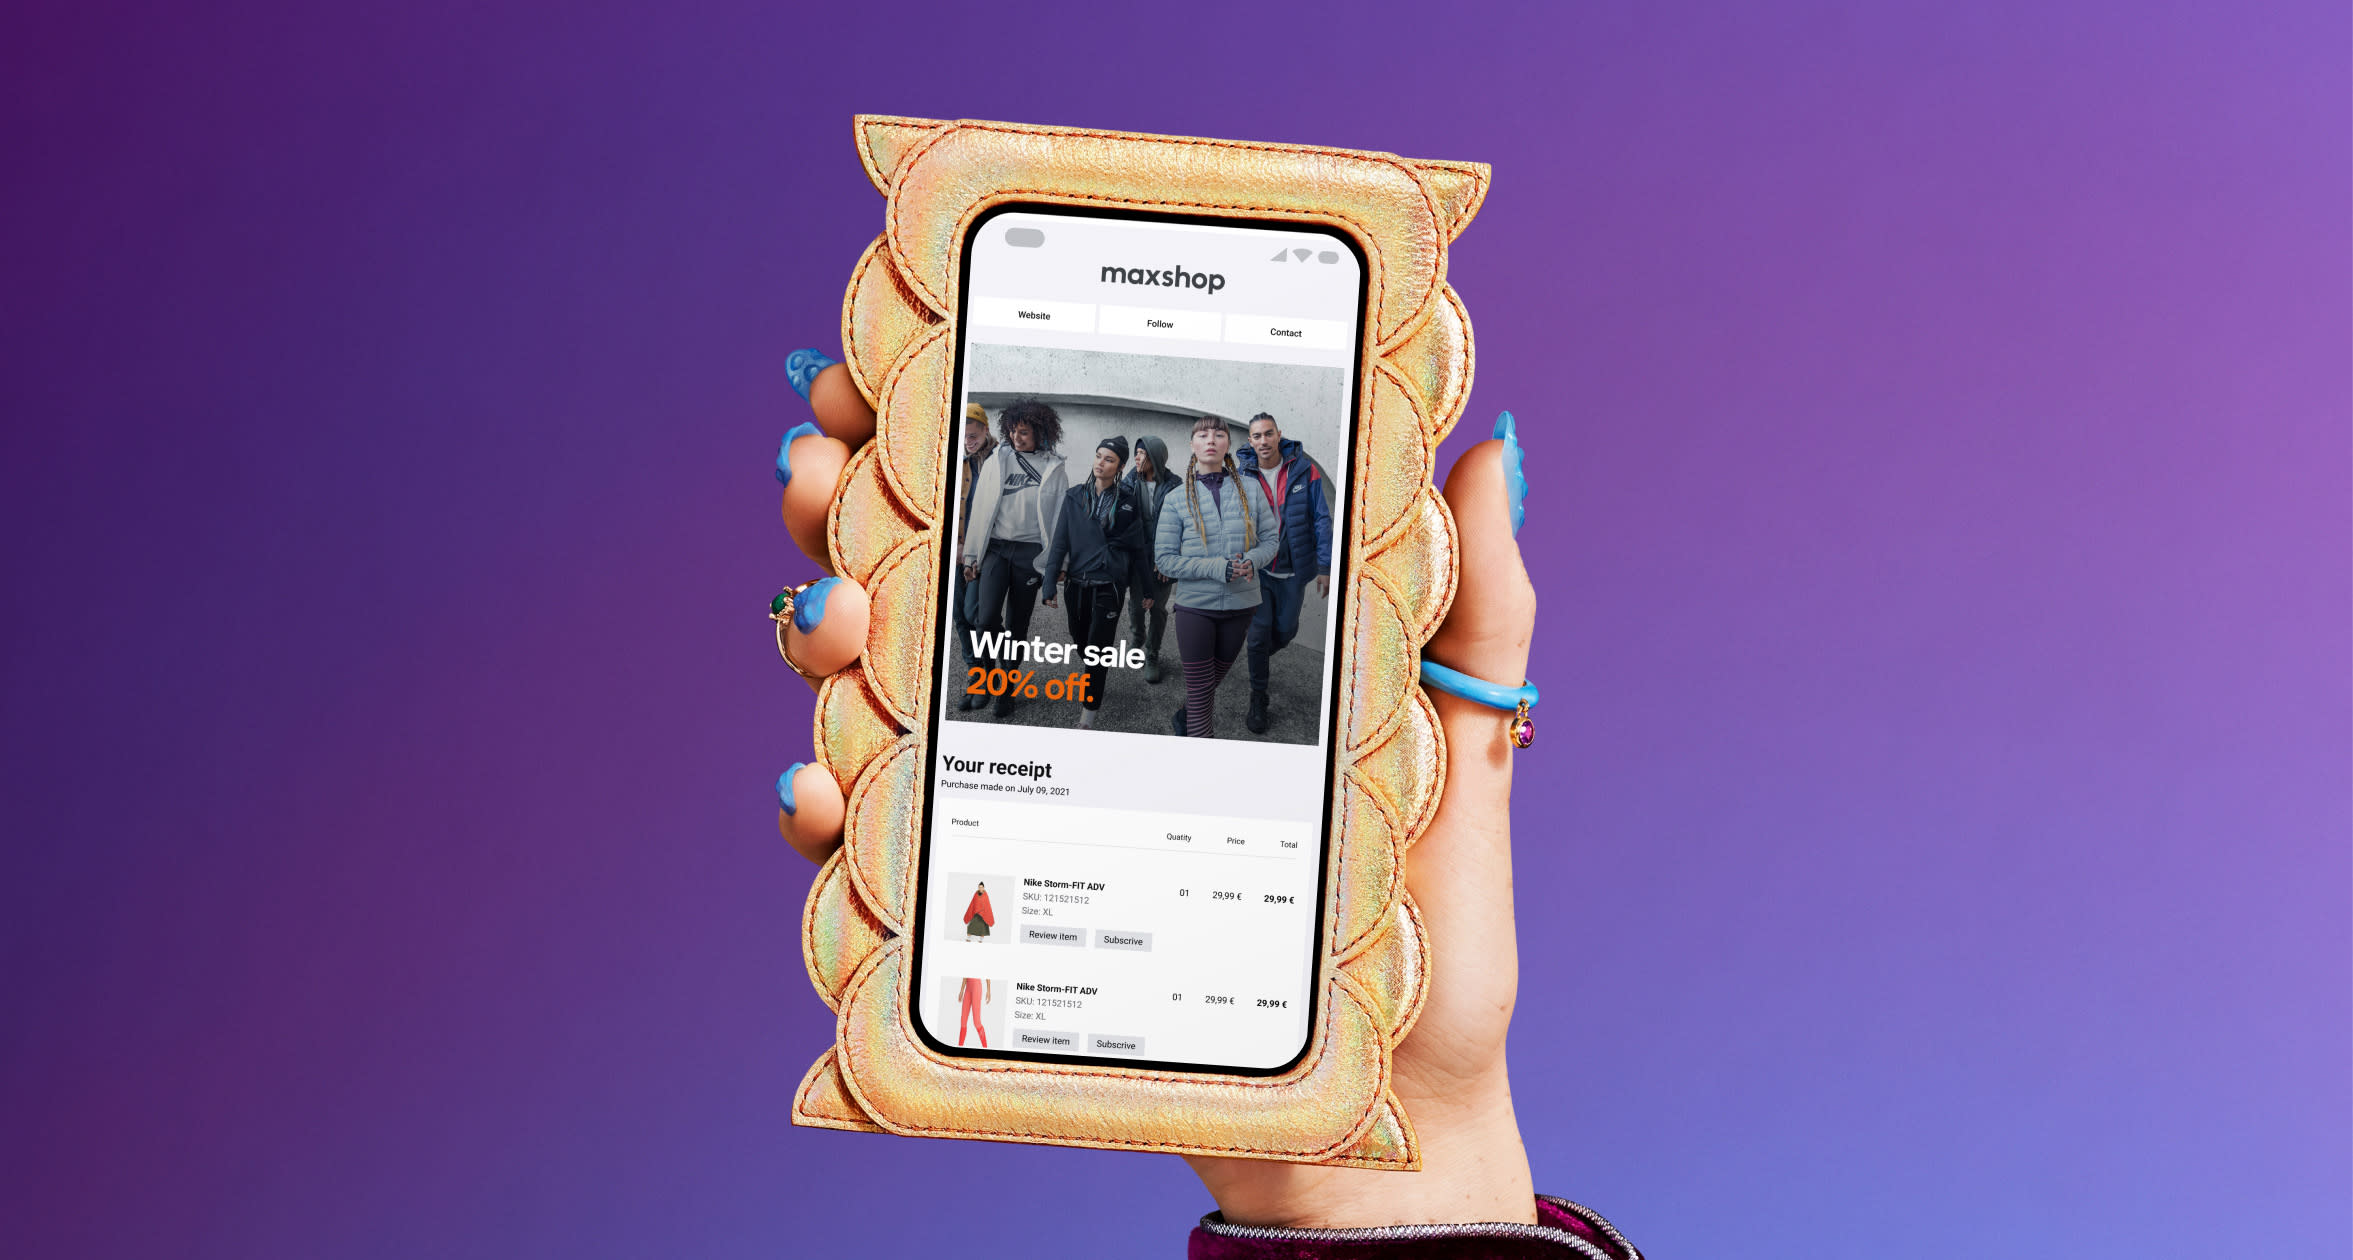
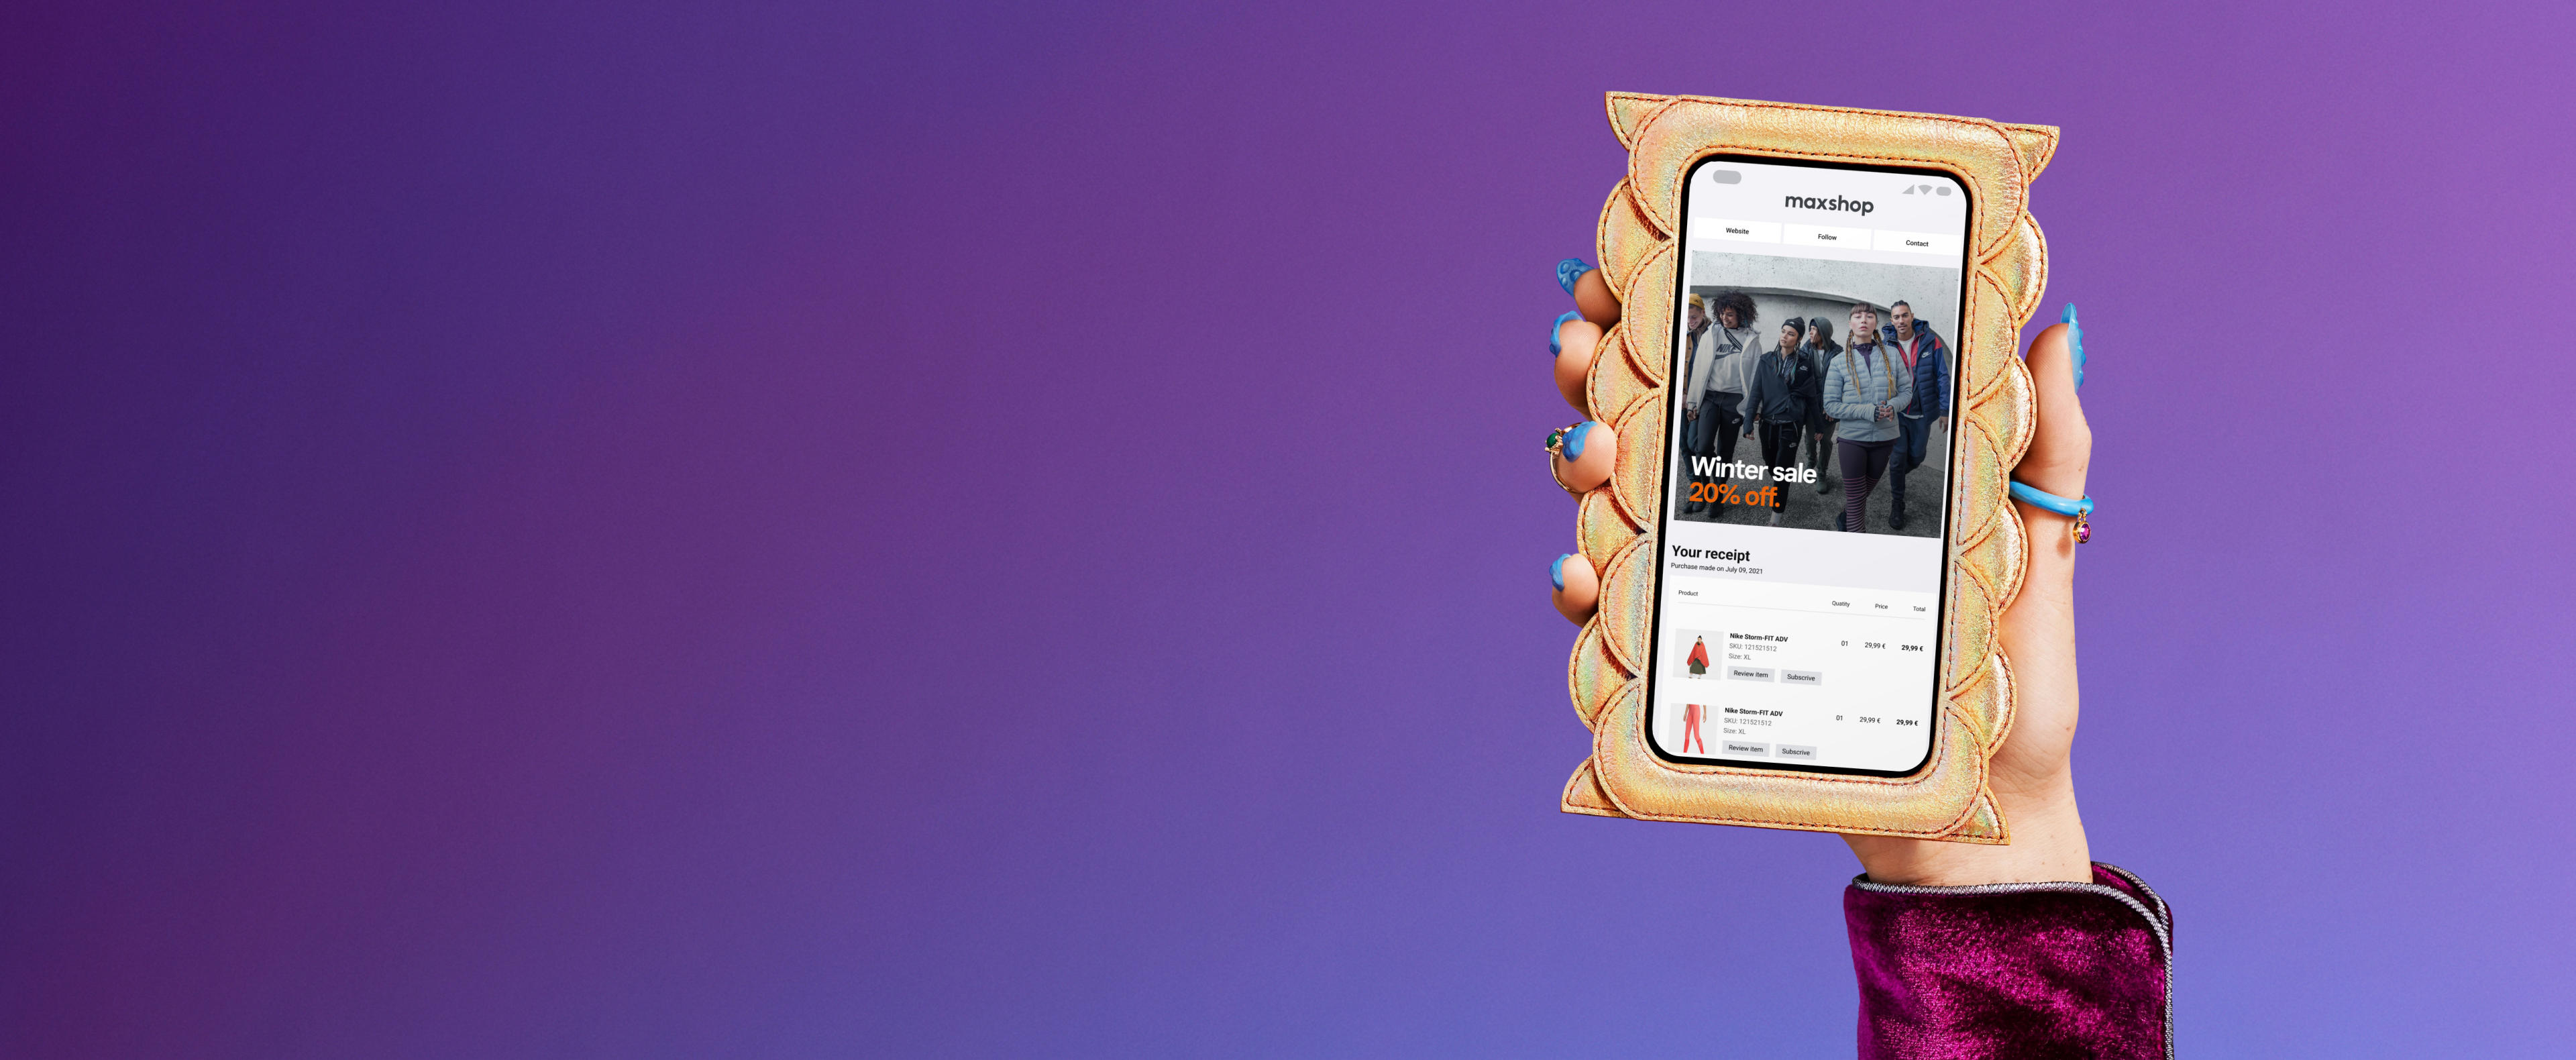
Offer your customers enhanced digital receipts that are feature-rich, engaging, and help you continue the conversation post purchase.
A world-class post-purchase experience.
Leverage your receipts to reduce churn, keep shoppers engaged with your brand and inspire their next purchase. With Klarna you can turn receipts into a feature-rich and targeted marketing channel.
Detailed product information with product images, web links and more.
Targeted banners & recommendations to inspire the next purchase.
Customer surveys completed directly on the receipt for higher response rates.
How Digital Receipts work.
Integrate Klarna’s Digital Receipts with your POS system using our API or one of our POS system plugins. Once you’re integrated, all you need to do is collect the customer’s email address or phone number and we will automatically distribute the digital receipt.
Collect the customer’s email.
Ask the customer if they want their receipt digitally and enter their email address or phone number in your POS system.
The receipt is generated.
Transactional data is securely transferred to Klarna for receipt creation.
The customer receives the receipt.
The customer receives a link to their personalized receipt via sms, email or in the Klarna app.
Don’t waste your most efficient communication channel.
Many retailers offer digital receipts, but they are static, unpersonalized, and provide the same experience to every customer. With Klarna you can convert your most opened and interacted-with email channel into an ongoing dialogue with your customers, and keep them coming back time and time again.
It works. We’ve got the receipts.
500m
yearly receipts sent from over 15k stores across the world.
30%
Opt-in rate for digital receipts at checkout.
60%
Open rates for our digital receipts.
20%
Click through rate on our digital receipts.
Plug in and chill out.
The last thing you need is to spend your time managing your transactional communications. With Klarna’s digital receipts, we do the heavy lifting for you.
A low-lift integration.
Start sending personalized digital receipts in 2-3 weeks. With Klarna’s Digital Receipts API, you’ll be integrated and up and running in no time.
Easily acquire valid emails.
By collecting emails at the point of sale, customers are more likely to provide valid email addresses to receive this communication. This opens the door to personalized marketing, offers, and more!
Effortless and engaging marketing.
Our digital receipts let you deliver the right offer to the right customer at the right time, with minimal effort.
Questions?
Questions on how our digital receipts work or how to get going? Find your answers below. For any further help or trouble-shooting, please contact customer support.
Collect more email addresses.
Better Engage customers post purchase with a retailers most effective post purchase email.
Drive additional sales.
Drive additional initiatives like getting survey feedback on the digital receipts or getting customers to sign up for a loyalty program if they aren’t part of it (all within the digital receipt).
A new marketing channel for retailers - in a highly effective email.
Most digital receipt providers are very static, basic, and boring. Klarna digital receipts allow you to place targeted marketing content on your receipts to better engage your customers post purchase. With most other digital receipt solutions it’s also very difficult to make changes to the receipts or get good metrics on their performance. With our product we offer you a merchant portal where your marketing team can make changes to your digital receipts easily without any IT involvement.
We need your POS to make a call to our API to send us your transactional data so that we can create your digital receipts. Once an integration is complete we will need you to update a DNS entry so that we can email consumers’ receipts on your behalf.
We also have a new program where you can send us any existing receipt data formats (e.g., TLOG) you may already have for other purposes, to avoid having to do a new API integration.
You can find technical documentation on building an integration
.You can also find information about our Privacy Policy and Third-party Subprocessors .
Our solution can be integrated in as little as 2-3 weeks with very little lift on your part.
Our solution is POS agnostic. Over the past 10 years we have conducted integrations with over 20 POS companies. We currently have integrations with Aptos, Oracle, Veras, and Retail Pro. If we don’t have an integration with your current POS company, don’t worry, it is not difficult to create an integration as it simply enables an API call.
Once we get an API request we will process it in near real time. It currently takes us under one second to process our API requests. This means that most consumers will get their digital receipt delivered prior to leaving your store.
No. Our solution requires us to deliver the digital receipt on your behalf. This is because we have years of experience in optimizing inbox placement, delivery, and tracking.
No. Since the API call happens once the transaction is closed.
We have a merchant portal where users can quickly and easily make changes to their digital receipts.
Receipt API requests get queued so that when the registers go back online requests can be processed in a batch manner.
We have reporting on adoption rates, email opens, click throughs, and conversions.
Let’s bring your receipts to life.
Give your customers a world-class post-purchase experience and get a new, highly effective marketing channel.
Choose your language and region
Klarna is available around the world with a variable offering, choose one that suits you best.
Monthly financing through Klarna and One-time card bi-weekly payments with a service fee to shop anywhere in the Klarna App issued by WebBank. Other CA resident loans at select merchants made or arranged pursuant to a California Financing Law license. Copyright © 2005-2024 Klarna Inc. NMLS #1353190, 800 N. High Street Columbus, OH 43215. VT Consumers: For WebBank Loan Products (One-Time Cards, Financing, Klarna Card): THIS IS A LOAN SOLICITATION ONLY. KLARNA INC. IS NOT THE LENDER. INFORMATION RECEIVED WILL BE SHARED WITH ONE OR MORE THIRD PARTIES IN CONNECTION WITH YOUR LOAN INQUIRY. THE LENDER MAY NOT BE SUBJECT TO ALL VERMONT LENDING LAWS. THE LENDER MAY BE SUBJECT TO FEDERAL LENDING LAWS.

